A new faucet should deliver a steady stream, not cough, spit, and tremble over the sink. Many homeowners ask, “why is my new faucet sputtering air” after installation. In most cases, trapped air, a partially open shutoff valve, or debris in the aerator explains the noise. The symptom can also reveal a loose supply connection or unstable household pressure. It is annoying. It is usually diagnosable.
Water efficiency can make the symptom more noticeable. According to the U.S. EPA WaterSense Specification for Bathroom Faucets and Faucet Accessories, labeled faucets use no more than 1.5 gallons per minute. Conventional faucets may use 2.2 gallons per minute. Lower flow leaves less water to mask bubbles and sediment. The EPA’s WaterSense program emphasizes tested performance, flow control, and reliable fixture operation. These standards do not prove a faulty faucet. They provide useful context. A faucet may meet its flow target and still sputter because installation conditions are poor.
Plumbing professionals commonly isolate the fixture and inspect the aerator screen. They confirm both stop valves are fully open and flush supply lines briefly. The American Society of Plumbing Engineers treats air control, pressure, and cleanable components as practical design concerns. Its Plumbing Engineering Design Handbook discusses these issues in professional detail. Still, a quick rinse is not a universal cure. If several fixtures spit air, the problem may involve the building supply, pressure-reducing valve, or recent water shutoff. This guide explains how to separate harmless startup air from a leak, blockage, or pressure fault. It also identifies when a licensed plumber should investigate hidden connections and possible water damage.
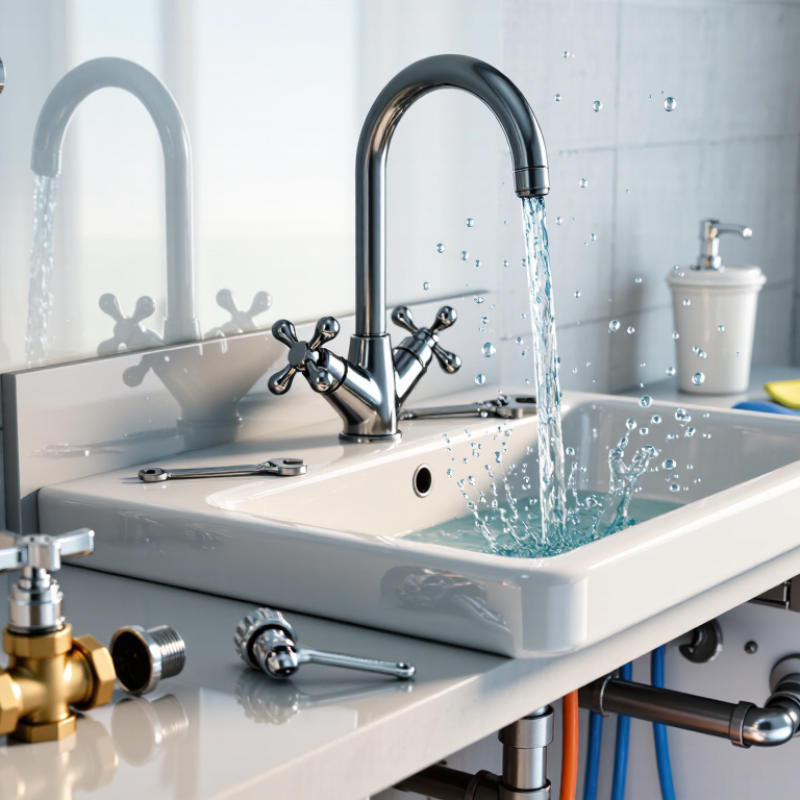
A new faucet that spits, coughs, or sprays unevenly usually contains trapped air. The noise often fades after several seconds of running. At 40–80 psi supply pressure, air sputtering can still occur. Pressure alone does not prove a water hammer problem. Remove the aerator, open the cold and hot handles, and let clean water flow for two minutes. Then rinse the aerator screen and reinstall it carefully.
Water hammer feels different. It creates a sharp bang when a handle, valve, or appliance shuts quickly. The pipes may shake inside the wall. Sputtering happens at the outlet, while hammering travels through the plumbing. Check pressure with a gauge when all fixtures are closed. Around 40–60 psi is commonly comfortable, while 80 psi deserves attention. A pressure-reducing device or expansion tank may help, but diagnosis should come first. I have sometimes blamed the faucet too quickly; loose pipe supports caused the louder noise.
Tips: Open the faucet slowly after installation. Purge both hot and cold lines separately. Inspect shutoff valves for partial closure or debris. If sputtering continues, check the cartridge and supply hoses for kinks. Record when the noise occurs. It may appear only after the water heater runs. If the pressure rises sharply overnight, ask a licensed plumber to test the system and verify the pressure-control equipment.
A new faucet that sputters usually has trapped air, restricted flow, or installation debris in its water path. A practical inspection should begin beneath the sink, not at the handle. Check both supply lines for sharp bends, twisting, or compression against the cabinet wall. Even a small kink can create uneven pressure and force air through the spout.
Turn off the shutoff valves, then confirm they open fully and smoothly. An old valve may contain loose mineral particles that block the opening. Disconnect each supply line carefully and place a bucket underneath. Briefly open the valve to check the flow, keeping your hands clear of the discharge. Weak flow points toward the valve or household plumbing. Strong flow suggests debris inside the faucet connection or cartridge.
Tips: Remove the aerator and rinse its screen. Flush the lines into a bucket before reconnecting them. Open the valves slowly afterward. Listen for hissing, and watch every connection for drips. It is easy to blame the faucet itself, but a partially closed valve is often overlooked. I would also recheck the installation instructions, because a washer installed backward can restrict flow. If sputtering continues on both hot and cold sides, stop forcing the handle and have a qualified plumber inspect the supply piping.
Start with the most common installation-related checks: confirm that both shutoff valves are fully open, inspect the supply lines for kinks or loose connections, and flush out installation debris from the aerator and faucet. Run cold and hot water separately for several minutes to purge trapped air. Persistent sputtering may indicate a blocked aerator, an obstructed supply line, or a connection that is allowing air into the system.
Why Is My New Faucet Sputtering Air and How to Fix It?
Purge Trapped Air by Running the Faucet for 2–5 Minutes
A new faucet may sputter because air entered the supply lines during installation. The sound often resembles a cough, followed by uneven streams or tiny white bubbles. In my plumbing checks, the simplest remedy is usually the most effective: remove the aerator, open the faucet fully, and let cold water run for two to five minutes. Then repeat with hot water. Keep your face away from the outlet. Air can spit water farther than expected.
Five minutes feels excessive, but it helps clear air pockets through the valve and flexible connectors. This timing is practical, not guaranteed. Some homes need longer flushing, especially after a main shutoff or pipe replacement. The U.S. Environmental Protection Agency reports that household leaks waste nearly one trillion gallons of water annually, so do not ignore continued dripping while testing. The American Water Works Association also identifies trapped air as a potential cause of noisy, irregular flow in plumbing systems.
Reinstall the aerator only after the stream becomes steady. Rinse its screen first; installation debris can imitate an air problem. Check both shutoff valves beneath the sink, and open them slowly. A loose connection, kinked hose, or damaged cartridge may still be responsible. If sputtering continues after several flushes, stop wasting water and inspect for leaks. I have seen “air” blamed too quickly. A wet cabinet floor tells a different story.
A new faucet may sputter because air remains inside the supply lines or debris has reached the aerator. Open both supply valves fully, then let cold water run for two minutes. Repeat with hot water. Remove the aerator carefully with a cloth-covered wrench. Small metal flakes, sand, or thread sealant can block its screen after installation.
Rinse the screen under running water. Soak mineral deposits in white vinegar for 20 to 30 minutes, then brush gently with an old toothbrush. Avoid sharp needles; they can enlarge the openings and change the spray pattern. If the screen is bent, cracked, or still restricted, replace the entire aerator. For a bathroom faucet, select a model rated at or below 1.5 gallons per minute, matching EPA WaterSense criteria. Check the thread size before buying. A wrong fit can leak.
Tips: Place a towel over the drain first. It prevents lost screws and protects the finish. Hold the aerator over a bowl while opening it. I sometimes find the washer stuck inside, and it is easy to overlook. Reassemble the parts in their original order, then run water slowly. If sputtering continues after cleaning, inspect the flexible hoses for kinks and leaks. Persistent air, weak pressure, or cloudy water may require a qualified plumber to check the valve or household supply.
| Symptom or Check | Likely Cause | What to Do | Typical Result or Target |
|---|---|---|---|
| Air spits from the spout after installation or plumbing work | Air is trapped in the supply lines or faucet body | Remove the aerator, open the faucet gradually, and run both hot and cold water for several minutes. Reinstall the aerator after the stream becomes steady. | The stream should become continuous without bursts of air. |
| Sputtering continues only with the aerator installed | Mineral scale, pipe debris, or an obstructed screen is restricting flow | Unscrew the aerator by hand or with a cloth-covered wrench. Separate the screen and housing, rinse away debris, and brush off mineral deposits with a soft brush. | The screen should be clean, intact, and free of visible blockage. |
| Low or uneven flow from one faucet only | A clogged aerator, partially closed shutoff valve, kinked hose, or blocked inlet screen | Confirm both shutoff valves are fully open, inspect flexible hoses for kinks, and clean the aerator and faucet inlet screens. | Flow should improve without leaks or water hammer. |
| Several fixtures sputter or lose pressure | Air or sediment may be present in the building supply, or the main valve may not be fully open | Check other fixtures, verify the main shutoff valve, and look for recent water-main, filter, or plumbing work. Persistent problems may require a plumbing inspection. | If multiple fixtures are affected, cleaning one aerator may not solve the problem. |
| Aerator screen is damaged, corroded, or cannot be cleaned | The insert is worn or permanently blocked by scale | Replace the aerator with one that matches the faucet thread size and internal gasket. Avoid forcing incompatible parts. | The replacement should seal properly and produce a stable, splash-free stream. |
| Aerator is difficult to remove | Mineral deposits have seized the threads | Protect the finish with a cloth, use adjustable pliers gently, and apply an appropriate descaling method to removable parts. Do not overtighten during reassembly. | The faucet finish and threads should remain undamaged. |
| Water flow is clean but the stream feels too forceful | The aerator may have a higher flow rate than needed | For a bathroom sink faucet, select an aerator rated at no more than 1.5 gallons per minute at 60 psi to align with the EPA WaterSense bathroom-faucet limit. | Maximum target: 1.5 gpm at 60 psi for bathroom sink faucets and faucet accessories. |
| Flow-rate check is needed after cleaning or replacement | The printed rating may not match actual household flow conditions | Place a container marked in gallons under the faucet, run cold water at full open flow for 15 seconds, and multiply the collected gallons by four. | Example: 0.375 gallons in 15 seconds equals approximately 1.5 gpm. |
| Sputtering returns quickly after a new aerator is installed | Debris may still be entering from the supply lines, shutoff valve, or faucet cartridge | Flush the lines with the aerator removed, inspect the inlet screens, and check whether the issue occurs on hot, cold, or both sides. | Recurring debris or pressure changes indicate a source problem beyond the aerator. |
A new faucet that spits air often has trapped air in its supply line. I have seen this after replacing a shutoff valve or cutting a pipe. The noise usually fades after several minutes of steady flow, but pressure can make it worse. Attach a pressure gauge to an outdoor hose connection or laundry faucet. Test static pressure when no fixture is running. If the reading rises above 80 psi, treat it as a plumbing problem, not merely a faulty faucet.
The 2024 International Plumbing Code, Section 604.8, requires an approved pressure-reducing valve when building water pressure exceeds 80 psi. Install the PRV on the main supply, then adjust it according to the plumbing system and fixture limits. Many residential systems operate near 50–60 psi, but the correct setting needs verification. The U.S. Environmental Protection Agency reports that household leaks waste nearly 1 trillion gallons of water annually, so a pressure check can reveal more than sputtering. I would also inspect the aerator, cartridge, shutoff valve, and flexible connector for debris. Flush the line briefly before reconnecting the faucet. If a PRV creates a closed system, thermal expansion may require an expansion tank. I initially overlooked that detail once. Do not rely on sound alone. Record pressure before and after installation, and have a qualified plumber confirm compliance with local amendments.
Trapped air, restricted flow, or installation debris may interrupt water movement. The faucet may not be defective.
Check both supply lines for sharp bends, twisting, or cabinet pressure. Even a small kink can disturb water flow.
Close each valve, then reopen it fully and slowly. A partially closed valve is easy to miss.
Disconnect one supply line over a bucket. Briefly open the valve and compare the water flow.
Weak flow may point to the valve or household plumbing. Strong flow suggests debris near the faucet connection.
Cover the drain first. Remove the aerator with a cloth-covered wrench, then rinse its screen.
Soak the screen in white vinegar for 20 to 30 minutes. Brush gently with an old toothbrush.
Replace it if the screen is cracked, bent, or still restricted. Match the thread size and use a water-saving model.
Attach a pressure gauge to an outdoor or laundry faucet. Test static pressure with every fixture turned off.
Treat it as a plumbing issue. A qualified plumber should assess pressure reduction, thermal expansion, and local requirements. I once overlooked expansion.
If you are wondering, “why is my new faucet sputtering air,” the problem is often trapped air in the supply lines after installation, although water hammer can create similar noises. At normal supply pressure around 40–80 psi, inspect the hot and cold supply hoses, shutoff valves, and connection points for kinks, loose fittings, or installation debris. Open the faucet fully and let it run for two to five minutes, switching between hot and cold water, to purge air from the lines.
If sputtering continues, remove and inspect the aerator for sediment or small pieces of debris. Clean it carefully or replace it with a model that supports efficient flow, such as one rated near the 1.5 gallons-per-minute WaterSense limit. Finally, test the home’s water pressure. Pressure above 80 psi may cause unstable flow and should be addressed with a properly sized pressure-reducing valve installed according to applicable plumbing requirements.

Flow Faucet