7 Tips on How to Sanitize a Drinking Water Faucet?

Time:2026-09-15 Author:Mason
0%

Clean drinking water can still become contaminated at the faucet. Hands, splashes, dust, and mineral buildup may collect around the spout and handle. This is why learning how to sanitize a drinking water faucet matters in everyday kitchen care. A clean-looking surface is not always hygienic.

This guide explains seven practical tips based on common food-safety practices and careful household maintenance. You will learn how to inspect the faucet, wash removable parts, choose a suitable sanitizer, and rinse surfaces safely. Always follow the faucet manufacturer’s instructions first. Stainless steel, plastic, chrome, and filtered-water fixtures may require different care. Never assume that one product suits every material.

Small details make a difference. Clean your hands before touching sanitized parts. Use a fresh cloth, not one left damp beside the sink. Pay attention to the aerator, seams, lever, and hidden threads. Let cleaned surfaces dry fully when appropriate. Keep chemical products away from drinking water connections unless their labels approve that use.

Mistakes happen. Overusing sanitizer does not create better hygiene. It may leave residue or damage the finish. A quick wipe can also miss the narrow outlet where water flows. If the faucet has unusual odors, visible biofilm, or persistent discoloration, routine cleaning may not be enough. Consider the filter system, replace worn components, and seek professional guidance when needed. Good sanitation is consistent, careful, and sometimes less convenient than expected.
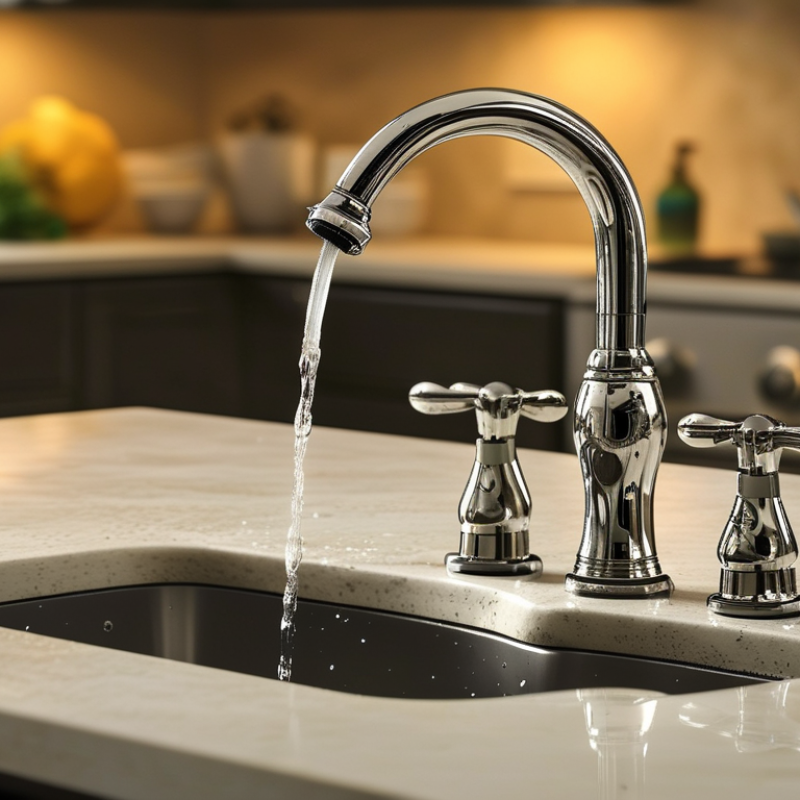
7 Tips on How to Sanitize a Drinking Water Faucet?

Identify the Faucet Areas That Need Sanitizing

A drinking water faucet is not clean simply because the water looks clear. The highest-risk contact points are usually the aerator, spout opening, handle, lever underside, and base seam. The aerator can trap mineral scale and fine debris. The handle collects fingerprints, skin oils, and residue from wet hands. Do not overlook the backsplash area, filter housing, or touchless sensor.

Inspect these areas under a bright light. Remove the aerator if the manufacturer’s instructions allow it, then clean away deposits with a soft brush. Wash the spout and handle before applying a disinfectant suitable for potable-water-contact surfaces. Respect the stated contact time. Wipe the base seam carefully, but prevent liquid from entering electrical parts or internal cartridges. Flush the faucet thoroughly afterward. WHO reports that contaminated drinking water causes about 505,000 diarrhoeal deaths annually, although faucet sanitation is only one control measure (WHO, Drinking-water Fact Sheet). WHO and UNICEF also reported that 2.2 billion people lacked safely managed drinking water in 2022 (JMP 2023).

I used to focus on the shiny spout. That was incomplete. The hidden underside often needed more attention. One practical mistake is cleaning the handle but ignoring the aerator threads. Check both. Replace damaged screens, cracked seals, or visibly scaled parts. Disinfectant alone cannot remove heavy buildup. Clean first. Then sanitize.

Gather Safe Cleaning Supplies and Prepare the Work Area

Before sanitizing a drinking water faucet, gather supplies that will not introduce new contamination. Use clean, disposable gloves, a soft cloth, a small brush, mild unscented detergent, and a clean container.

Keep a potable-water-approved sanitizer nearby. Read its label carefully. Some products require dilution, contact time, or a final rinse with safe water.

Never mix cleaning chemicals.

Clear the counter around the faucet. Remove cups, dishes, and loose items from the splash zone. Wash your hands, then place a fresh towel beneath the faucet parts.

If possible, shut off the water supply before removing the aerator. Store small pieces in the clean container, not directly on the sink.

That detail is easy to miss. I once placed a clean screen beside a damp sponge and had to wash it again.

A separate waste bag helps contain used gloves and dirty cloths. Use good lighting so you can inspect threads, openings, and hidden deposits.

Avoid abrasive powders, metal brushes, and heavily scented cleaners. They may damage surfaces or leave residues.

Keep children and pets away while supplies are open.

Check the faucet material before applying sanitizer, because certain finishes can react poorly.

Do not rush the preparation stage. Clean surroundings make the later sanitizing steps more reliable.

Clean the Faucet Exterior, Spout, and Hard-to-Reach Parts

A drinking-water faucet needs attention beyond a quick wipe. The handle, spout, and aerator collect fingerprints, mineral scale, and biofilm. The CDC notes that germs can grow in faucet aerators and recommends regular cleaning of household water outlets. The WHO and UNICEF 2023 JMP report found that 2.2 billion people lacked safely managed drinking water in 2022. That figure makes small hygiene habits worth taking seriously.

Start with clean hands and remove jewelry. Turn off the water, then unscrew the aerator carefully. Soak removable parts in warm, soapy water. Use a soft brush around threads and screen holes.

Wipe the exterior, handle underside, and faucet base with detergent. Scrub inside the spout with a narrow brush. A cotton swab or folded clean cloth can reach tight seams.

Rinse every part with potable water. Apply a disinfectant approved for drinking-water contact, following its label. Never mix cleaning chemicals.

Replace the aerator and flush the faucet for several minutes. The CDC advises flushing stagnant water before drinking, especially after long periods without use. Check for slime, odor, or recurring scale. These signs may indicate a plumbing issue, not poor wiping.

I once cleaned only the visible chrome and missed the screen. It looked bright, but the stream remained uneven.

Cleaning frequency depends on use and water quality; a fixed weekly rule may be too simplistic. Record the cleaning date and inspect hidden parts again.

Disinfect Internal Components and Flush the Water Lines

7 Tips on How to Sanitize a Drinking Water Faucet?

A drinking water faucet can look clean while harboring residue inside its spout. Begin by washing your hands and shutting off the water supply. Tip 1: Remove the aerator, screen, or nozzle carefully. Soak removable parts in a potable-water-safe disinfecting solution. Follow the product label exactly. Tip 2: Clean threads and openings with a soft brush. Avoid sharp tools, which can damage sealing surfaces. Tip 3: Wipe the faucet body and handle with the same approved solution. Never mix cleaning chemicals.

Tip 4: Check the internal cartridge, valve stem, and seals if the faucet design allows access. These parts may trap slimy deposits or mineral flakes. Replace damaged seals instead of forcing them back into place. Tip 5: Follow the faucet maker’s service instructions for internal sanitation. Strong chemicals can weaken plastic or leave an unpleasant taste. I once rushed this step and missed residue beneath a seal. That small mistake matters. Tip 6: Reassemble every part securely, but do not overtighten it.

Tip 7: Flush the water lines thoroughly with cold drinking water. Open the faucet slowly and let water run until the smell disappears. Then continue flushing for the recommended time on the disinfectant label. Watch for cloudiness, loose particles, or an unusual taste. If any remain, stop using the faucet and inspect it again. A clean-looking stream is not proof of a clean internal passage. Regular checks help, especially after long periods without use or plumbing repairs.

7 Tips on How to Sanitize a Drinking Water Faucet?

Use the following steps to disinfect internal components and flush the water lines safely. Always follow the disinfectant label, use clean drinking-water materials, and never mix chemicals.

Chart reference: Estimated water volume inside a 5-meter faucet branch line, calculated as π × internal diameter² ÷ 4 × line length. The 3× value is a practical flushing-volume estimate, not a universal health standard.

  1. Wash your hands with soap and water for at least 20 seconds.
  2. Turn off the faucet supply before removing the aerator or other removable parts.
  3. Rinse away visible sediment and scrub internal components with a clean brush.
  4. Apply a potable-water-safe disinfectant according to its label and required contact time.
  5. Do not mix bleach, acids, ammonia, or other cleaning chemicals.
  6. Reassemble the faucet, open the cold-water valve, and flush the line using the calculated volume as a planning reference.
  7. Continue flushing until the water runs clear and any disinfectant odor is gone, following local water-safety guidance.

Prevent Recontamination Through Regular Faucet Maintenance

7 Tips on How to Sanitize a Drinking Water Faucet

Prevent Recontamination Through Regular Faucet Maintenance

A clean faucet can still become contaminated at its outlet. WHO’s 2022 Guidelines for Drinking-water Quality recommend managing risks from source to point of use.

Tip 1: Wash your hands before maintenance. Tip 2: Shut off the water supply and remove the aerator carefully. Tip 3: Scrub the aerator, screen, and threads with a clean brush. Small deposits can shelter microorganisms.

Tip 4: Rinse every part under safe running water. Tip 5: Disinfect components only with a product approved for drinking-water contact. Follow its label and never mix chemicals. Tip 6: Flush the faucet for several minutes after reassembly. CDC guidance notes that stagnant water can collect in plumbing fixtures, especially after periods of non-use. The exact flushing time depends on the plumbing system, so guessing is not ideal.

Tip 7: Inspect the faucet weekly and clean it immediately after touching raw food or dirty surfaces. Dry the outlet with a fresh, disposable towel when possible. NSF/ANSI 61 establishes health-effect requirements for drinking-water system components, but certification does not replace cleaning. I have found that people often scrub the handle and forget the aerator. That mistake is easy to repeat. Record the cleaning date, replace damaged screens, and contact a qualified water professional if unusual taste, odor, or discoloration remains.

FAQS

Which faucet areas need the most careful sanitizing?

Inspect the aerator, spout opening, handle, lever underside, base seam, and backsplash. Hidden areas matter.

Why can a clear water stream still come from a dirty faucet?

Mineral scale, skin oils, and fine debris may collect inside openings. Clear water does not prove a clean faucet.

How should I inspect the faucet before cleaning?

Use bright light. Check threads, openings, seams, and the sensor area for deposits or residue.

What supplies are useful for faucet sanitation?

Gather clean gloves, a soft cloth, a small brush, mild unscented detergent, and a clean container. Use safe water afterward.

How should I clean a removable aerator?

Remove it only when instructions allow. Brush away deposits gently, and store small parts in a clean container.

Should I clean before applying sanitizer?

Yes. Detergent and brushing remove buildup first. Sanitizer works less reliably through heavy scale.

How do I apply sanitizer safely?

Use a product suitable for drinking-water contact surfaces. Follow dilution and contact-time instructions exactly.

What mistakes should I avoid during faucet sanitation?

Never mix chemicals. Avoid metal brushes, abrasive powders, and strongly scented cleaners. They can damage finishes or leave residues.

How can I protect electrical faucet parts?

Keep liquid away from sensors, cartridges, and electrical components. Wipe seams carefully instead of flooding them.

What should I do after sanitizing the faucet?

Rinse or flush it with safe water when the instructions require it. Replace cracked seals or damaged screens.

How should I prepare the surrounding work area?

Clear cups and dishes from the splash zone. Place a fresh towel underneath. Keep children and pets away.

What detail is easy to overlook?

The aerator threads and handle underside. I once cleaned the visible spout and missed both. That was incomplete.

Conclusion

Learning how to sanitize a drinking water faucet starts with identifying every area that may collect bacteria, including the handle, spout, aerator, seams, and other hard-to-reach surfaces. Prepare a clean work area and gather safe supplies such as mild dish soap, a clean brush, disposable gloves, and an appropriate food-contact-safe disinfectant. Wash the faucet exterior first, then carefully scrub the spout and removable parts to remove dirt and residue without damaging the finish.

For a more thorough cleaning, follow the faucet’s instructions before disinfecting internal components or soaking removable pieces. Flush the water lines fully afterward to clear away loosened debris and cleaning residue. Regular maintenance helps prevent recontamination: clean high-touch areas frequently, inspect the aerator for buildup, keep the surrounding sink dry, and use clean towels or tools. A consistent routine keeps the drinking water faucet fresh, hygienic, and ready for safe daily use.

Mason

Mason

Mason is a seasoned marketing professional with a deep expertise in the company's offerings and a passion for driving brand awareness. With a strong background in digital marketing strategies, he has an innate ability to connect with diverse audiences and effectively communicate product benefits.......